
Quick Answer
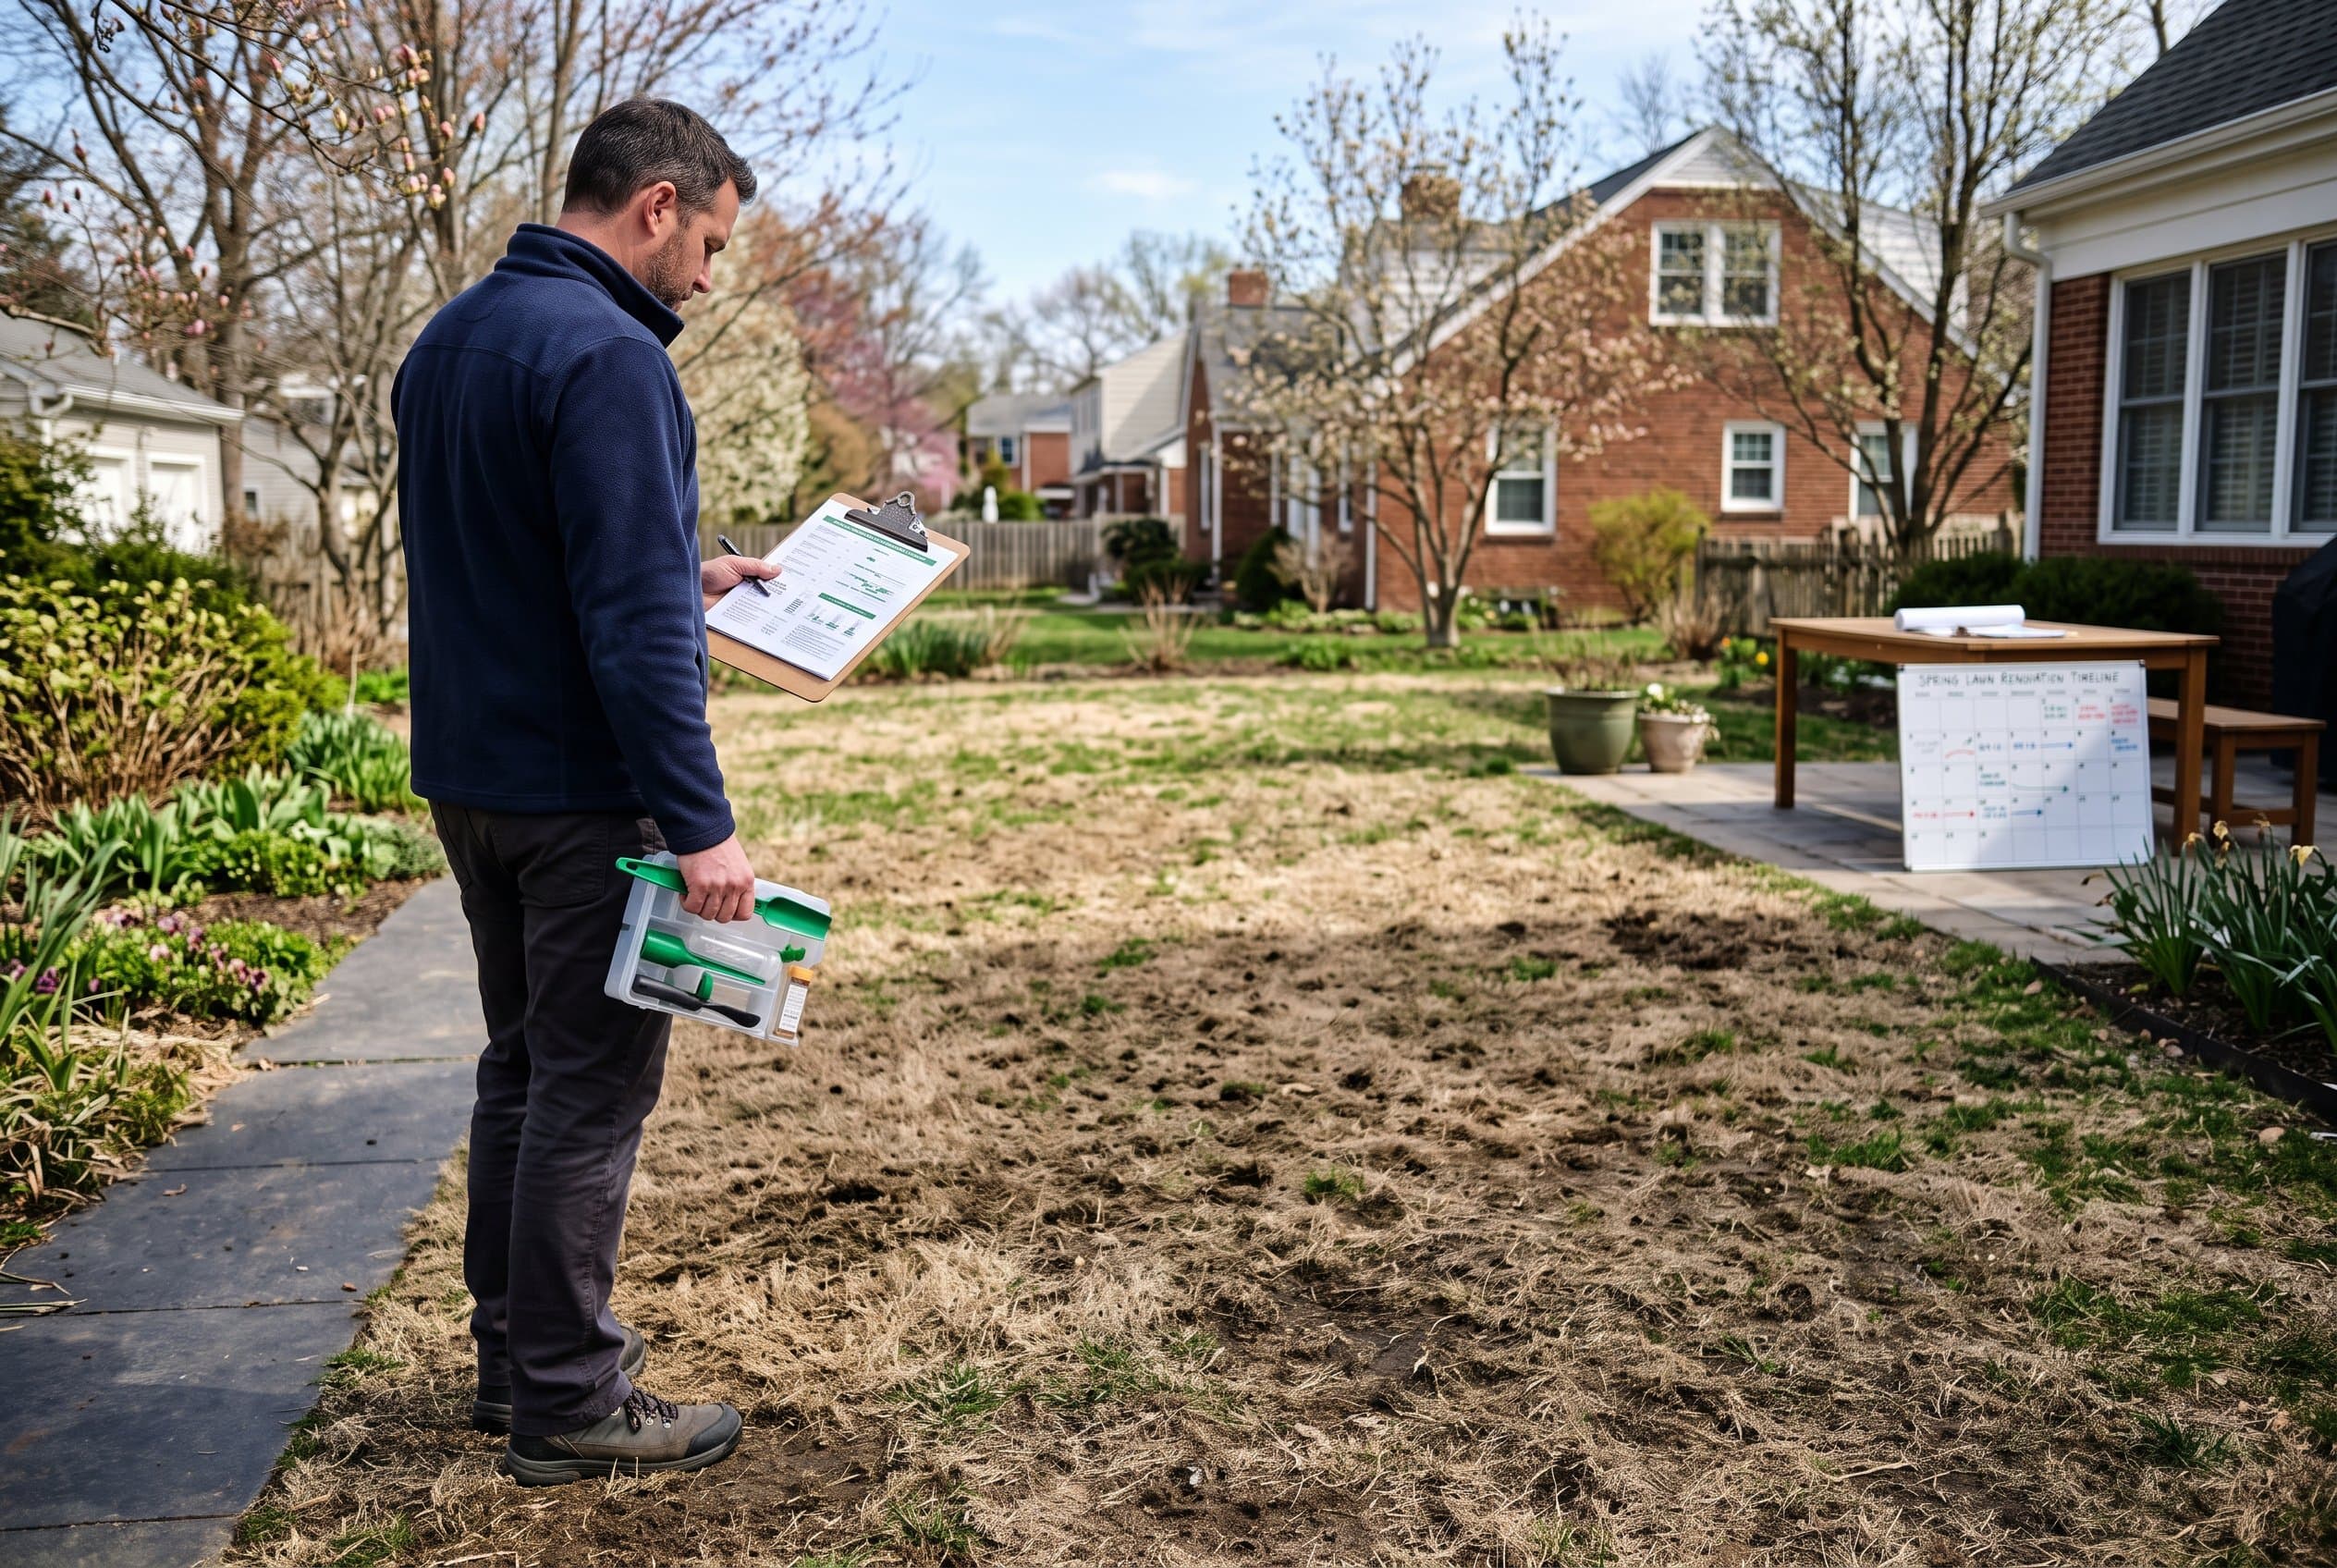
The best time to plan a spring lawn renovation is late winter to early spring, before soil temperatures consistently exceed 50°F for cool-season grasses. Start by assessing your lawn's condition, testing your soil, and mapping out the repairs needed — then execute each step in the right order for lasting results.
Key Takeaways
- Renovate cool-season lawns in early spring before temperatures rise; warm-season lawns after the last frost
- Soil testing is the most important first step — it tells you exactly what amendments your lawn needs
- Address compaction, thatch, and bare spots before overseeding or fertilizing
- A phased renovation plan prevents overwhelm and delivers better results than doing everything at once
- Match your grass seed to your regional climate and existing lawn type for best germination success
Introduction
Spring is the ideal season to reset your lawn after winter stress. Whether you're dealing with bare patches, thin turf, heavy thatch, or compacted soil, a structured renovation plan makes the difference between a lawn that recovers and one that struggles all season. With the right sequence of steps, even a tired, worn-out lawn can bounce back stronger than ever.
When Should You Start Your Spring Lawn Renovation?
Timing is everything in lawn renovation. For cool-season grasses — like tall fescue, Kentucky bluegrass, and ryegrass — the ideal renovation window is early spring when soil temperatures reach 50–65°F[1]. Starting too early risks frost damage to new seedlings; starting too late means competing with summer heat stress.
Warm-season grasses — bermuda, zoysia, and centipede — should be renovated after the last frost date in your region, typically mid-spring[2]. Use your USDA hardiness zone to confirm your last frost date before purchasing seed or sod[3].
Soil Temperature Is Your Real Signal
Air temperature can be misleading. Invest in an inexpensive soil thermometer and check at a 2-inch depth before overseeding. Waiting for consistent soil warmth dramatically improves germination rates and reduces seed waste.
How Do You Assess and Prepare Your Lawn for Renovation?
Before purchasing any products, spend 30 minutes walking your lawn and taking notes. This step-by-step assessment forms the foundation of your renovation plan.
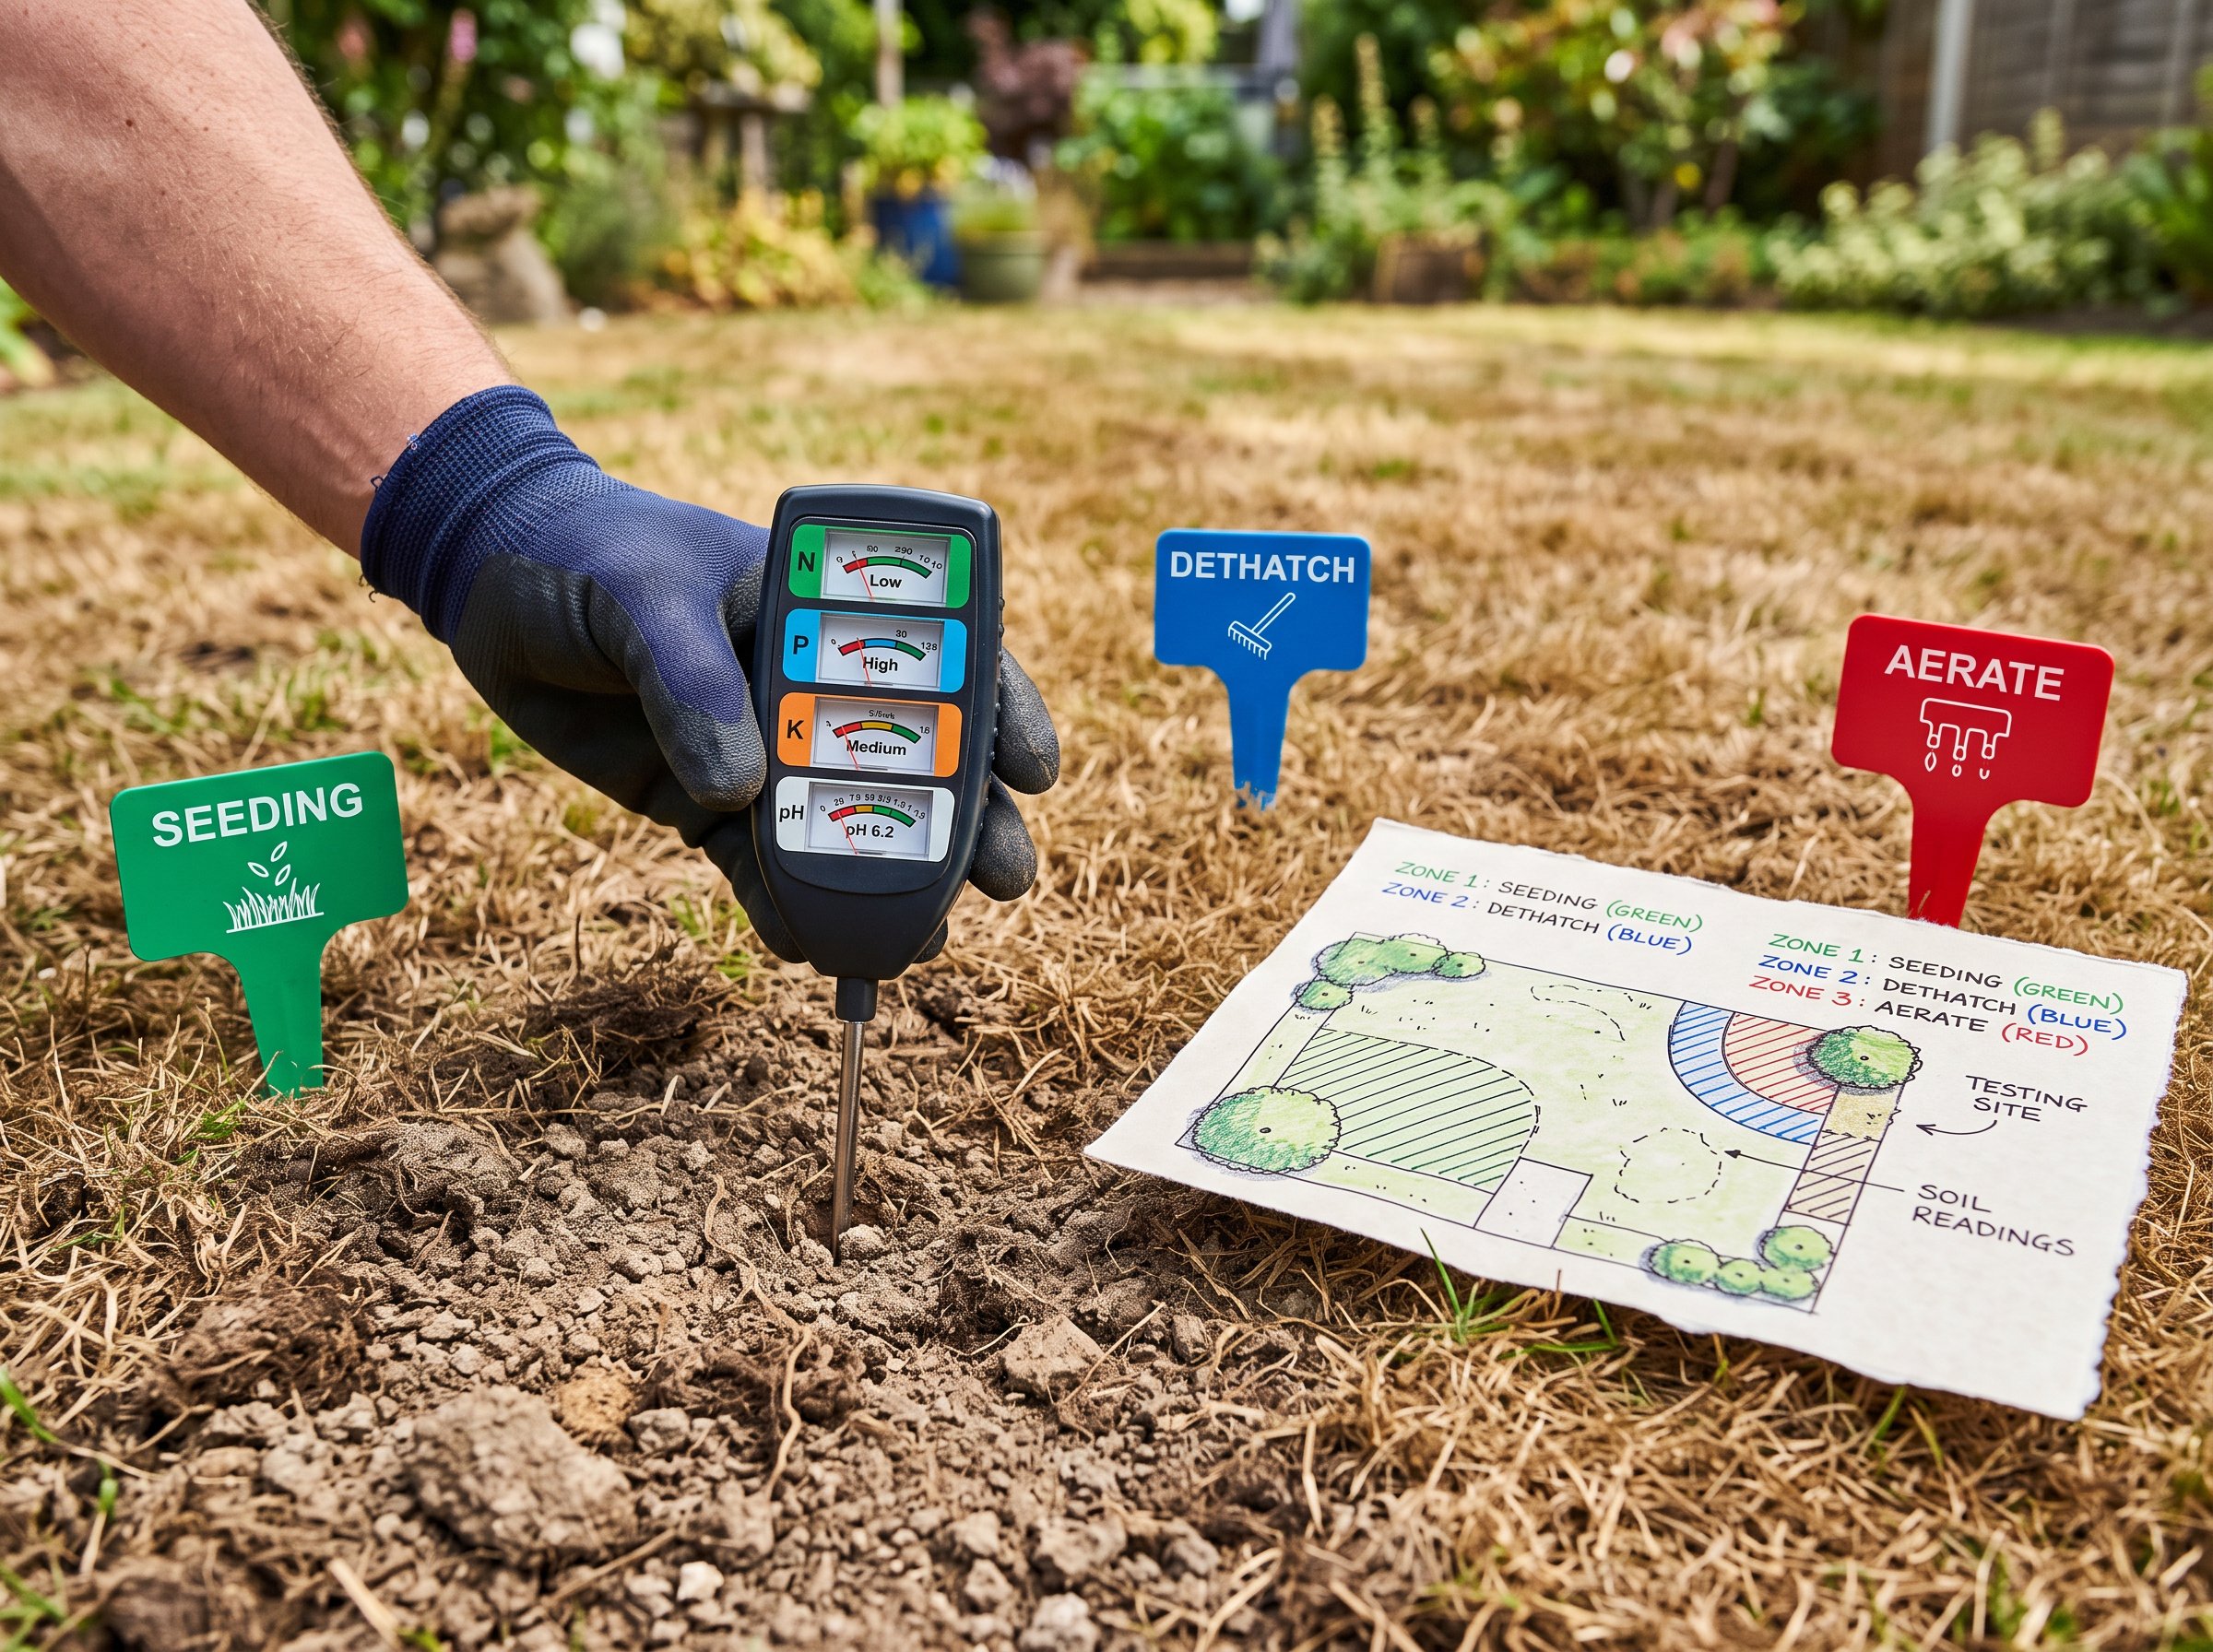
Step 1: Soil Test Submit a soil sample to your local extension lab or a private soil lab[4]. A standard test measures pH, nitrogen, phosphorus, and potassium — data that prevents over- or under-fertilizing. Ideal lawn pH falls between 6.0 and 7.0 for most grass types[1].
Step 2: Check Thatch Thickness Pull a small plug of turf and measure the spongy brown layer between the soil and green growth. Thatch over ½ inch should be removed with a dethatching rake or power dethatcher before overseeding[5].
Step 3: Test for Compaction Push a screwdriver into the soil. If it won't go in easily, your lawn needs core aeration. Aerating opens the soil, improves water infiltration, and gives new seed direct soil contact[1].
Step 4: Map Bare and Thin Areas Note the size and location of bare patches. Areas larger than a dinner plate typically need overseeding; larger sections may benefit from sod for faster results[6].
Step 5: Identify Weed Pressure High weed populations may indicate underlying soil problems. Treat persistent weeds before renovation, since pre-emergent herbicides can inhibit grass seed germination if applied too close to seeding.
What's the Right Order for Renovation Tasks?
Executing tasks in the correct sequence prevents wasted effort and product. Follow this order for best results:
- Soil amend — Apply lime or sulfur to adjust pH based on your soil test results[4]
- Dethatch — Remove excess thatch to allow seed and nutrients to reach the soil
- Aerate — Core aerate to relieve compaction and improve root development
- Overseed — Apply seed at the recommended rate for your grass type; press seed into soil for good contact
- Fertilize — Use a starter fertilizer high in phosphorus to support root development in new seedlings[5]
- Water consistently — Keep the seedbed moist with light, frequent watering until germination is established
Avoid applying pre-emergent weed killers in the same season you overseed — they prevent grass seed germination as effectively as weed seed germination.
How Do You Keep a Renovated Lawn Healthy Long-Term?
Renovation is just the beginning. Building long-term lawn health requires consistent seasonal practices after your spring work is done.
- Mow new seedlings only after they reach 3–4 inches, removing no more than one-third of the blade at a time
- Transition to a slow-release fertilizer after seedlings are established to avoid burning tender roots[5]
- Adjust your irrigation schedule seasonally and water deeply but infrequently to encourage deep root growth[3]
- Overseed thin areas again in fall if cool-season grass didn't fill in fully — fall is actually the optimal seeding window for cool-season varieties[2]
Document what you did this spring — products used, seeding dates, soil test results — so you can build on this year's progress next season.
Conclusion: Your Spring Renovation Action Plan
Start by ordering a soil test this week if you haven't already. Use the results to guide your amendment choices, then work through the renovation sequence — dethatch, aerate, overseed, fertilize — in the right order. Choose seed varieties matched to your region and sun conditions, water consistently through germination, and your lawn will reward you with noticeably thicker, greener turf by early summer. Small, methodical steps now pay off all season long.