
Quick Answer
A successful lawn sprinkler system setup involves mapping your yard into irrigation zones, installing a backflow preventer and controller, running supply lines, and positioning sprinkler heads for full coverage. Most homeowners can complete a basic system over a weekend with rented tools, though larger yards or complex layouts may require additional time and planning[1]. Proper planning upfront saves water, money, and future headaches.
Key Takeaways
- Divide your lawn into zones based on water needs, sun exposure, soil type, and slope
- Always install a backflow preventer to protect your drinking water supply from contamination[2]
- Space sprinkler heads so their coverage patterns overlap by 10–15% — this is called head-to-head coverage and prevents dry spots
- Fixed spray heads typically cover 8–15 feet in radius; rotary heads cover 15–30 feet, depending on water pressure
- Operating pressure between 30–50 PSI is ideal for most residential sprinkler systems — too much pressure causes misting and water waste
- Program your controller to water in the early morning (4–8 a.m.) to minimize evaporation and fungal disease risk[3]
- Schedule seasonal adjustments to your controller or install a smart controller with weather-based programming
Planning Your Lawn Sprinkler System Setup
Good planning is the foundation of any effective irrigation system. Before buying a single fitting, take time to map your yard, understand your water supply, and choose the right components.
Step 1: Measure and Map Your Yard
Sketch your property to scale on graph paper or use a free online tool. Mark the locations of gardens, trees, walkways, and structures. Identify areas with different water needs — sunny versus shaded spots, slopes, clay-heavy soil, and sandy areas all affect how much water each zone requires[4].
Group areas with similar water needs into the same zone. A typical residential lawn might have three to six zones depending on yard size and landscaping complexity.
Step 2: Measure Your Water Pressure and Flow Rate
Your system design depends entirely on what your water supply can support. Attach a pressure gauge to an outdoor hose bib to measure PSI. Most residential systems run at 40–80 PSI at the source, but sprinkler heads are designed for 30–50 PSI operating pressure — a pressure regulator may be necessary[1].
Measure flow rate by timing how long it takes to fill a five-gallon bucket from the hose bib. Use this number to calculate how many sprinkler heads can run on a single zone without overloading your supply line.
Step 3: Choose Your Sprinkler Head Types
Different areas call for different head types:
- Fixed spray heads: Best for smaller areas, beds, and irregular shapes. Coverage radius: 8–15 feet.
- Rotary/rotor heads: Ideal for large turf areas. Coverage radius: 15–30 feet. Use less water per minute, reducing runoff on slopes.
- Drip emitters: Best for garden beds, shrubs, and trees. Deliver water directly to root zones and minimize evaporation[5].
- Pop-up heads: Retract below the turf surface when not in use, protecting them from mowing damage.
Step 4: Design Your Zone Layout
Never mix spray heads and rotor heads on the same zone — they have very different precipitation rates and one type will over- or under-water if combined. Place heads at the corners and edges of each zone first, then fill in the interior. Aim for head-to-head coverage, meaning each head's spray pattern reaches the adjacent head, typically 15–20 feet apart for rotors and 8–12 feet apart for fixed spray heads.
Lawn Sprinkler System Setup: Installation Steps
Once your design is finalized, installation follows a logical sequence. Plan to spend a full weekend on a mid-sized yard. Larger properties or those requiring significant trenching may take longer, especially if you hit tree roots or rocky soil.
Install the Backflow Preventer
A backflow preventer is a legal requirement in most municipalities and is non-negotiable for protecting your home's drinking water[2]. Install it on the main supply line after the shutoff valve. The most common type for residential irrigation is a pressure vacuum breaker (PVB), which must be installed at least 12 inches above the highest sprinkler head in the system.
Check your local codes — some jurisdictions require a licensed plumber to install the backflow preventer and may require an inspection.
Run Your Main Supply Lines
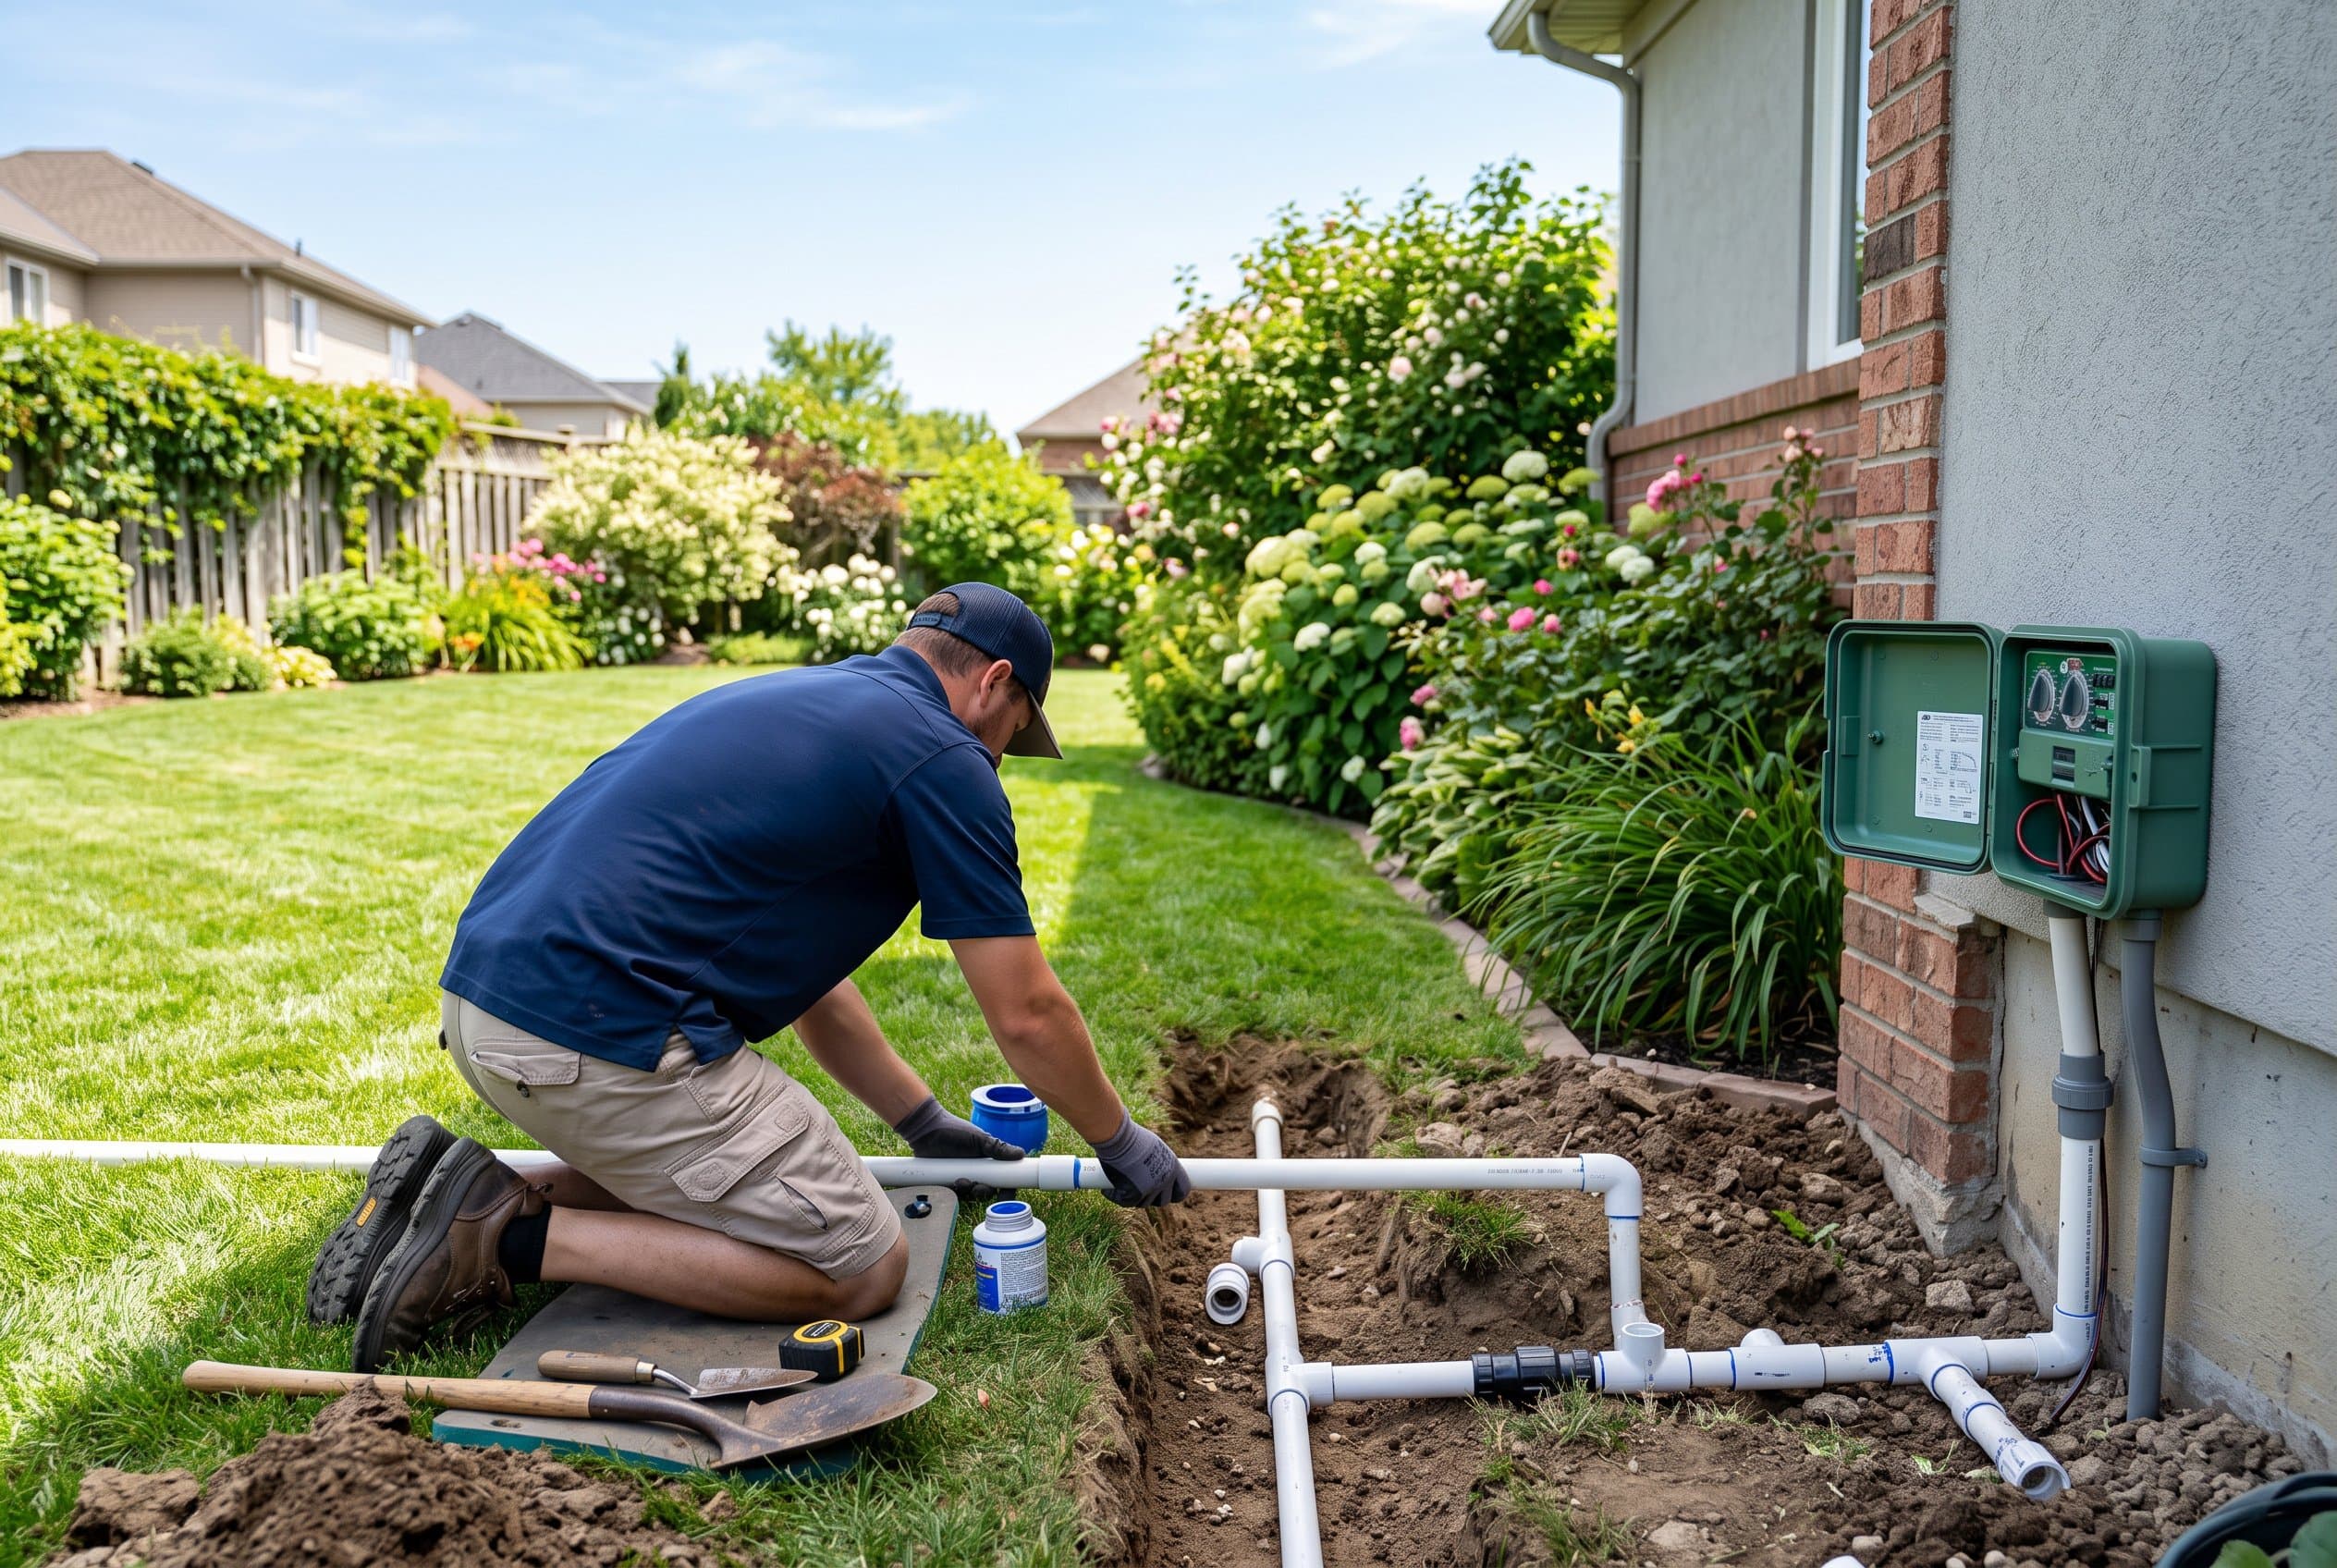
Rent a pipe-pulling machine (also called a vibratory plow) from your local equipment rental center to minimize turf damage when laying supply lines. Trenches should be at least 6–8 inches deep in warm climates and 10–12 inches deep in freeze-prone regions to protect pipes from frost damage.
Use schedule 40 PVC pipe for main supply lines and flexible polyethylene (poly) pipe for lateral lines connecting to sprinkler heads. All joints should be properly primed and solvent-cemented for PVC, or secured with barbed fittings and clamps for poly pipe.
Install the Manifold and Valves
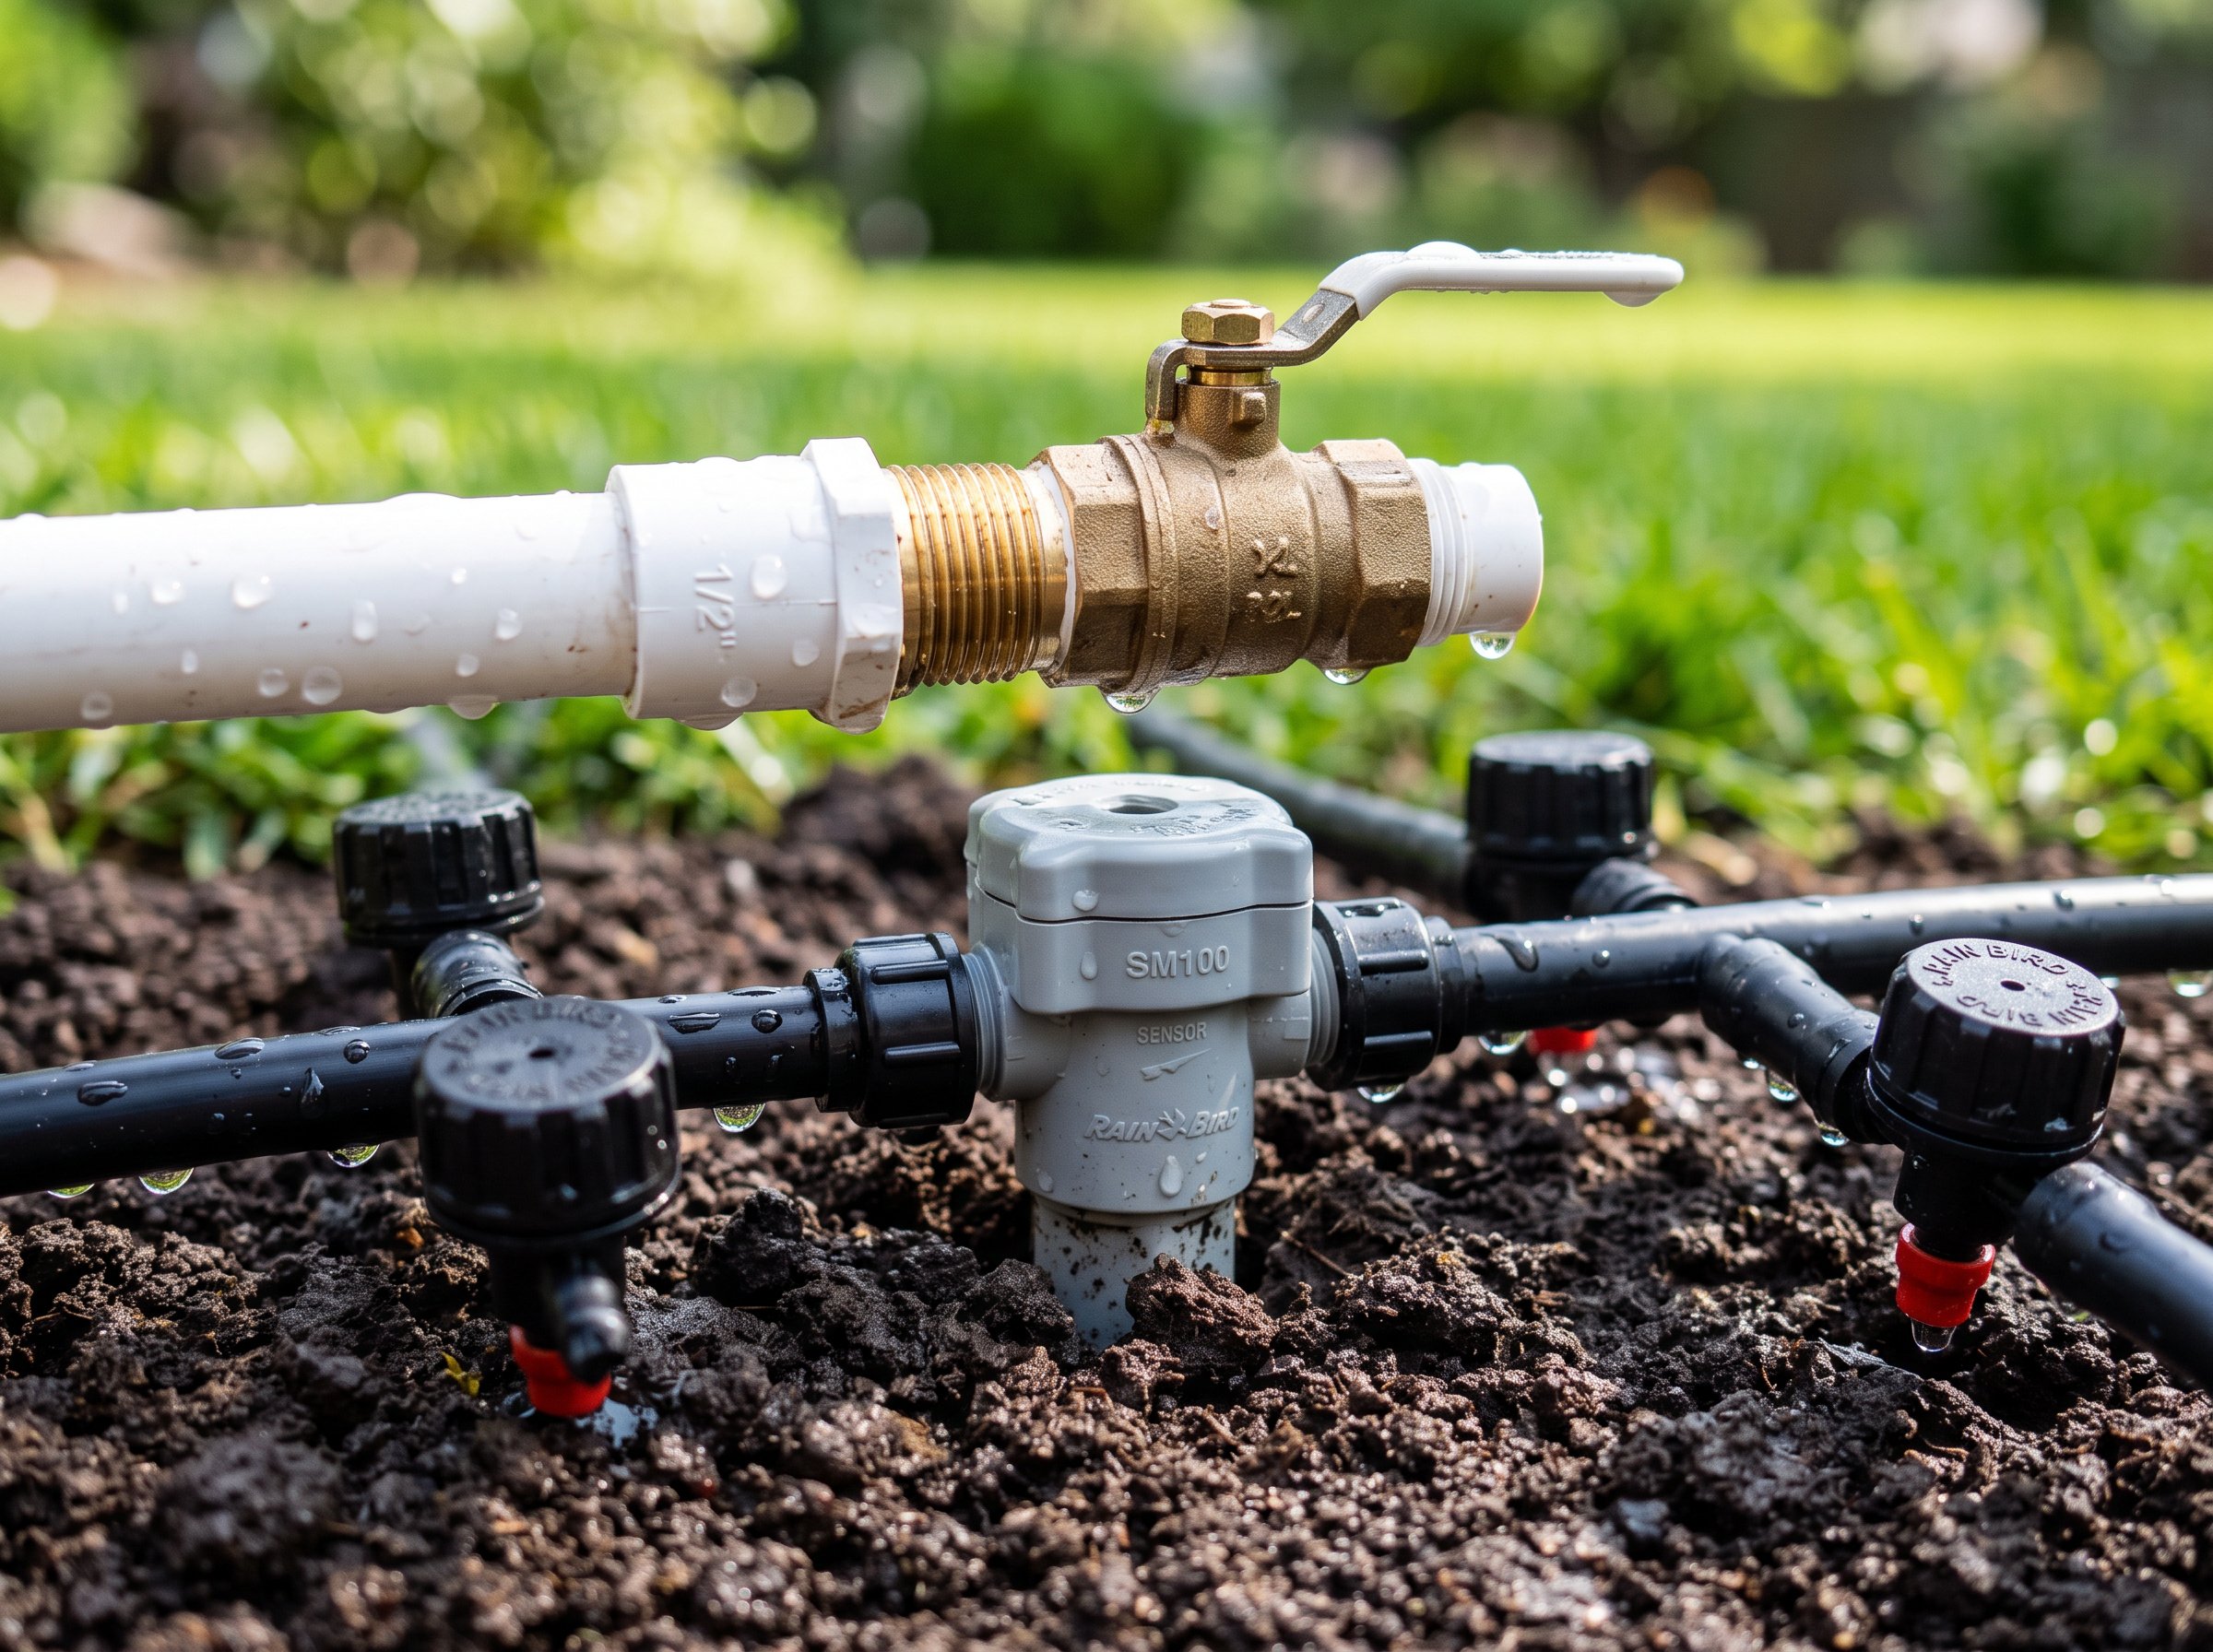
The manifold houses your zone valves — one solenoid valve per zone. Install the manifold in an accessible valve box near your water source. Each valve connects to a lateral supply line feeding that zone's sprinkler heads. Label each valve clearly for future maintenance.
Wire each solenoid valve back to your irrigation controller using direct burial wire. Keep each valve's wires bundled separately to simplify troubleshooting later.
Position and Install Sprinkler Heads
Install heads at grade level so they sit flush with the turf surface when retracted. For pop-up spray heads, the top of the head body should be level with or just slightly below the soil surface — this prevents scalping when mowing.
For precise coverage, follow these spacing guidelines:
- Fixed spray heads: Place heads 8–12 feet apart for full head-to-head coverage
- Rotary heads: Space 15–20 feet apart, adjusting for the specific head's listed radius
- Corner and edge placements: Use 90° or 180° arc nozzles to avoid watering sidewalks and driveways[1]
Install and Wire the Controller
Mount your irrigation controller in the garage or on an exterior wall protected from direct weather. Connect each zone valve's wiring to the corresponding terminal on the controller. Most modern controllers include a common (COM) wire terminal — all valve common wires connect here.
Smart controllers with Wi-Fi and weather-based adjustments can reduce outdoor water use by 15–50% compared to timer-only systems[3]. These automatically skip watering cycles after rainfall and adjust schedules based on local evapotranspiration data.
Programming Your Irrigation Controller
Programming your controller correctly is just as important as the physical installation. A well-designed system run on a poor schedule wastes water and can damage your lawn.
Set Your Watering Schedule
Most cool-season grasses need approximately 1–1.5 inches of water per week, including rainfall[4]. Warm-season grasses like Bermuda and Zoysia often require similar amounts but are more drought-tolerant once established. Divide your weekly water target across two to three watering days rather than daily light watering — deep, infrequent irrigation encourages deeper root growth.
Set your start time between 4 and 8 a.m. Early morning watering reduces evaporation loss and allows leaf blades to dry before evening, reducing fungal disease pressure[3].
Calculate Run Times Per Zone
Run times vary by head type and zone-specific conditions. A general rule of thumb:
- Fixed spray heads: 10–15 minutes per cycle to apply approximately 0.5 inches of water
- Rotary/rotor heads: 25–40 minutes per cycle, as they apply water more slowly
- Drip zones: 30–60 minutes depending on emitter flow rate and plant density[5]
Perform a catch cup test — place several small containers around each zone, run it for 15 minutes, and measure the water collected to calibrate run times accurately.
Use Seasonal Adjustments
Reduce watering frequency and duration in spring and fall when temperatures drop. Increase in peak summer heat. Many controllers include a seasonal adjustment percentage dial — dropping to 50–70% in spring and fall relative to your summer schedule is a reasonable starting point[1].
Maintenance and Troubleshooting
A properly maintained system can last 20 or more years. Annual inspections catch small problems before they become expensive repairs.
Seasonal Startup
In spring, open your main shutoff valve slowly to avoid water hammer damage. Walk each zone, checking for broken or tilted heads, leaks at fittings, and proper arc adjustments. Test each zone at the controller. Replace any damaged nozzles — they are inexpensive and significantly affect performance.
Winterization (Blowout)
In climates with freezing winters, you must drain or blow out your system before the first hard freeze. Hire a licensed irrigator or rent an air compressor rated at 20–50 CFM (cubic feet per minute) to blow out each zone. Never use a compressor rated higher than 50 CFM for residential systems, as excessive air pressure can shatter PVC fittings and heads.
Shut off the main water supply, disable the controller, and blow out each zone sequentially until no more water exits the heads. Repeat two to three times per zone[2].
Common Problems and Fixes
| Problem | Likely Cause | Fix |
|---|---|---|
| Dry spots in turf | Clogged nozzle or low-arc head | Clean or replace nozzle; adjust arc |
| Water pooling or runoff | Run time too long or soil compacted | Reduce run time; aerate lawn |
| Low pressure at heads | Pressure loss in supply line or too many heads per zone | Check for leaks; reduce heads per zone |
| Controller not activating zone | Faulty solenoid or wiring issue | Test solenoid with multimeter; check wire connections |
| System won't shut off | Valve diaphragm stuck open | Clean or replace valve diaphragm |
When to Call a Professional
Consider hiring a licensed irrigator for:
- Yards larger than half an acre
- Properties with significant slope or erosion risk
- Systems requiring taps into the main water line rather than a hose bib
- Jurisdictions requiring permitted installation and inspection
The Irrigation Association maintains a directory of certified irrigation professionals who have demonstrated competency in system design and installation[6].
Water Conservation Tips for Your Sprinkler System
Even a perfectly installed system wastes water without smart scheduling practices. The EPA's WaterSense program estimates that residential outdoor water use accounts for nearly 30% of total household water consumption, and roughly half of that is wasted due to overwatering and inefficiency[3].
- Install rain sensors or soil moisture sensors to prevent watering after rainfall
- Audit your system annually with a catch cup test to verify uniform coverage
- Upgrade to pressure-regulating head bodies if your supply pressure exceeds 60 PSI
- Consider converting high-maintenance turf areas to drip-irrigated native plantings, which require 30–50% less water[5]
- Match nozzle precipitation rates across all heads in a zone for even water distribution