Quick Answer
Building a backyard fire pit takes one weekend and costs $75–$300 in materials, depending on size and style. Choose a safe location at least 10 feet from structures, dig a shallow pit or lay a gravel base, and stack fire-rated blocks or stones in a circle. Always check local ordinances before you start.
Key Takeaways
- Keep the fire pit at least 10 feet away from your home, fences, and overhanging branches
- Use fire-rated bricks or natural stone — never standard concrete blocks, which can crack or explode under heat
- A diameter of 36–44 inches is ideal for most backyard setups
- Always check local fire codes and HOA rules before building
- Install a gravel or sand base for drainage and stability
Introduction
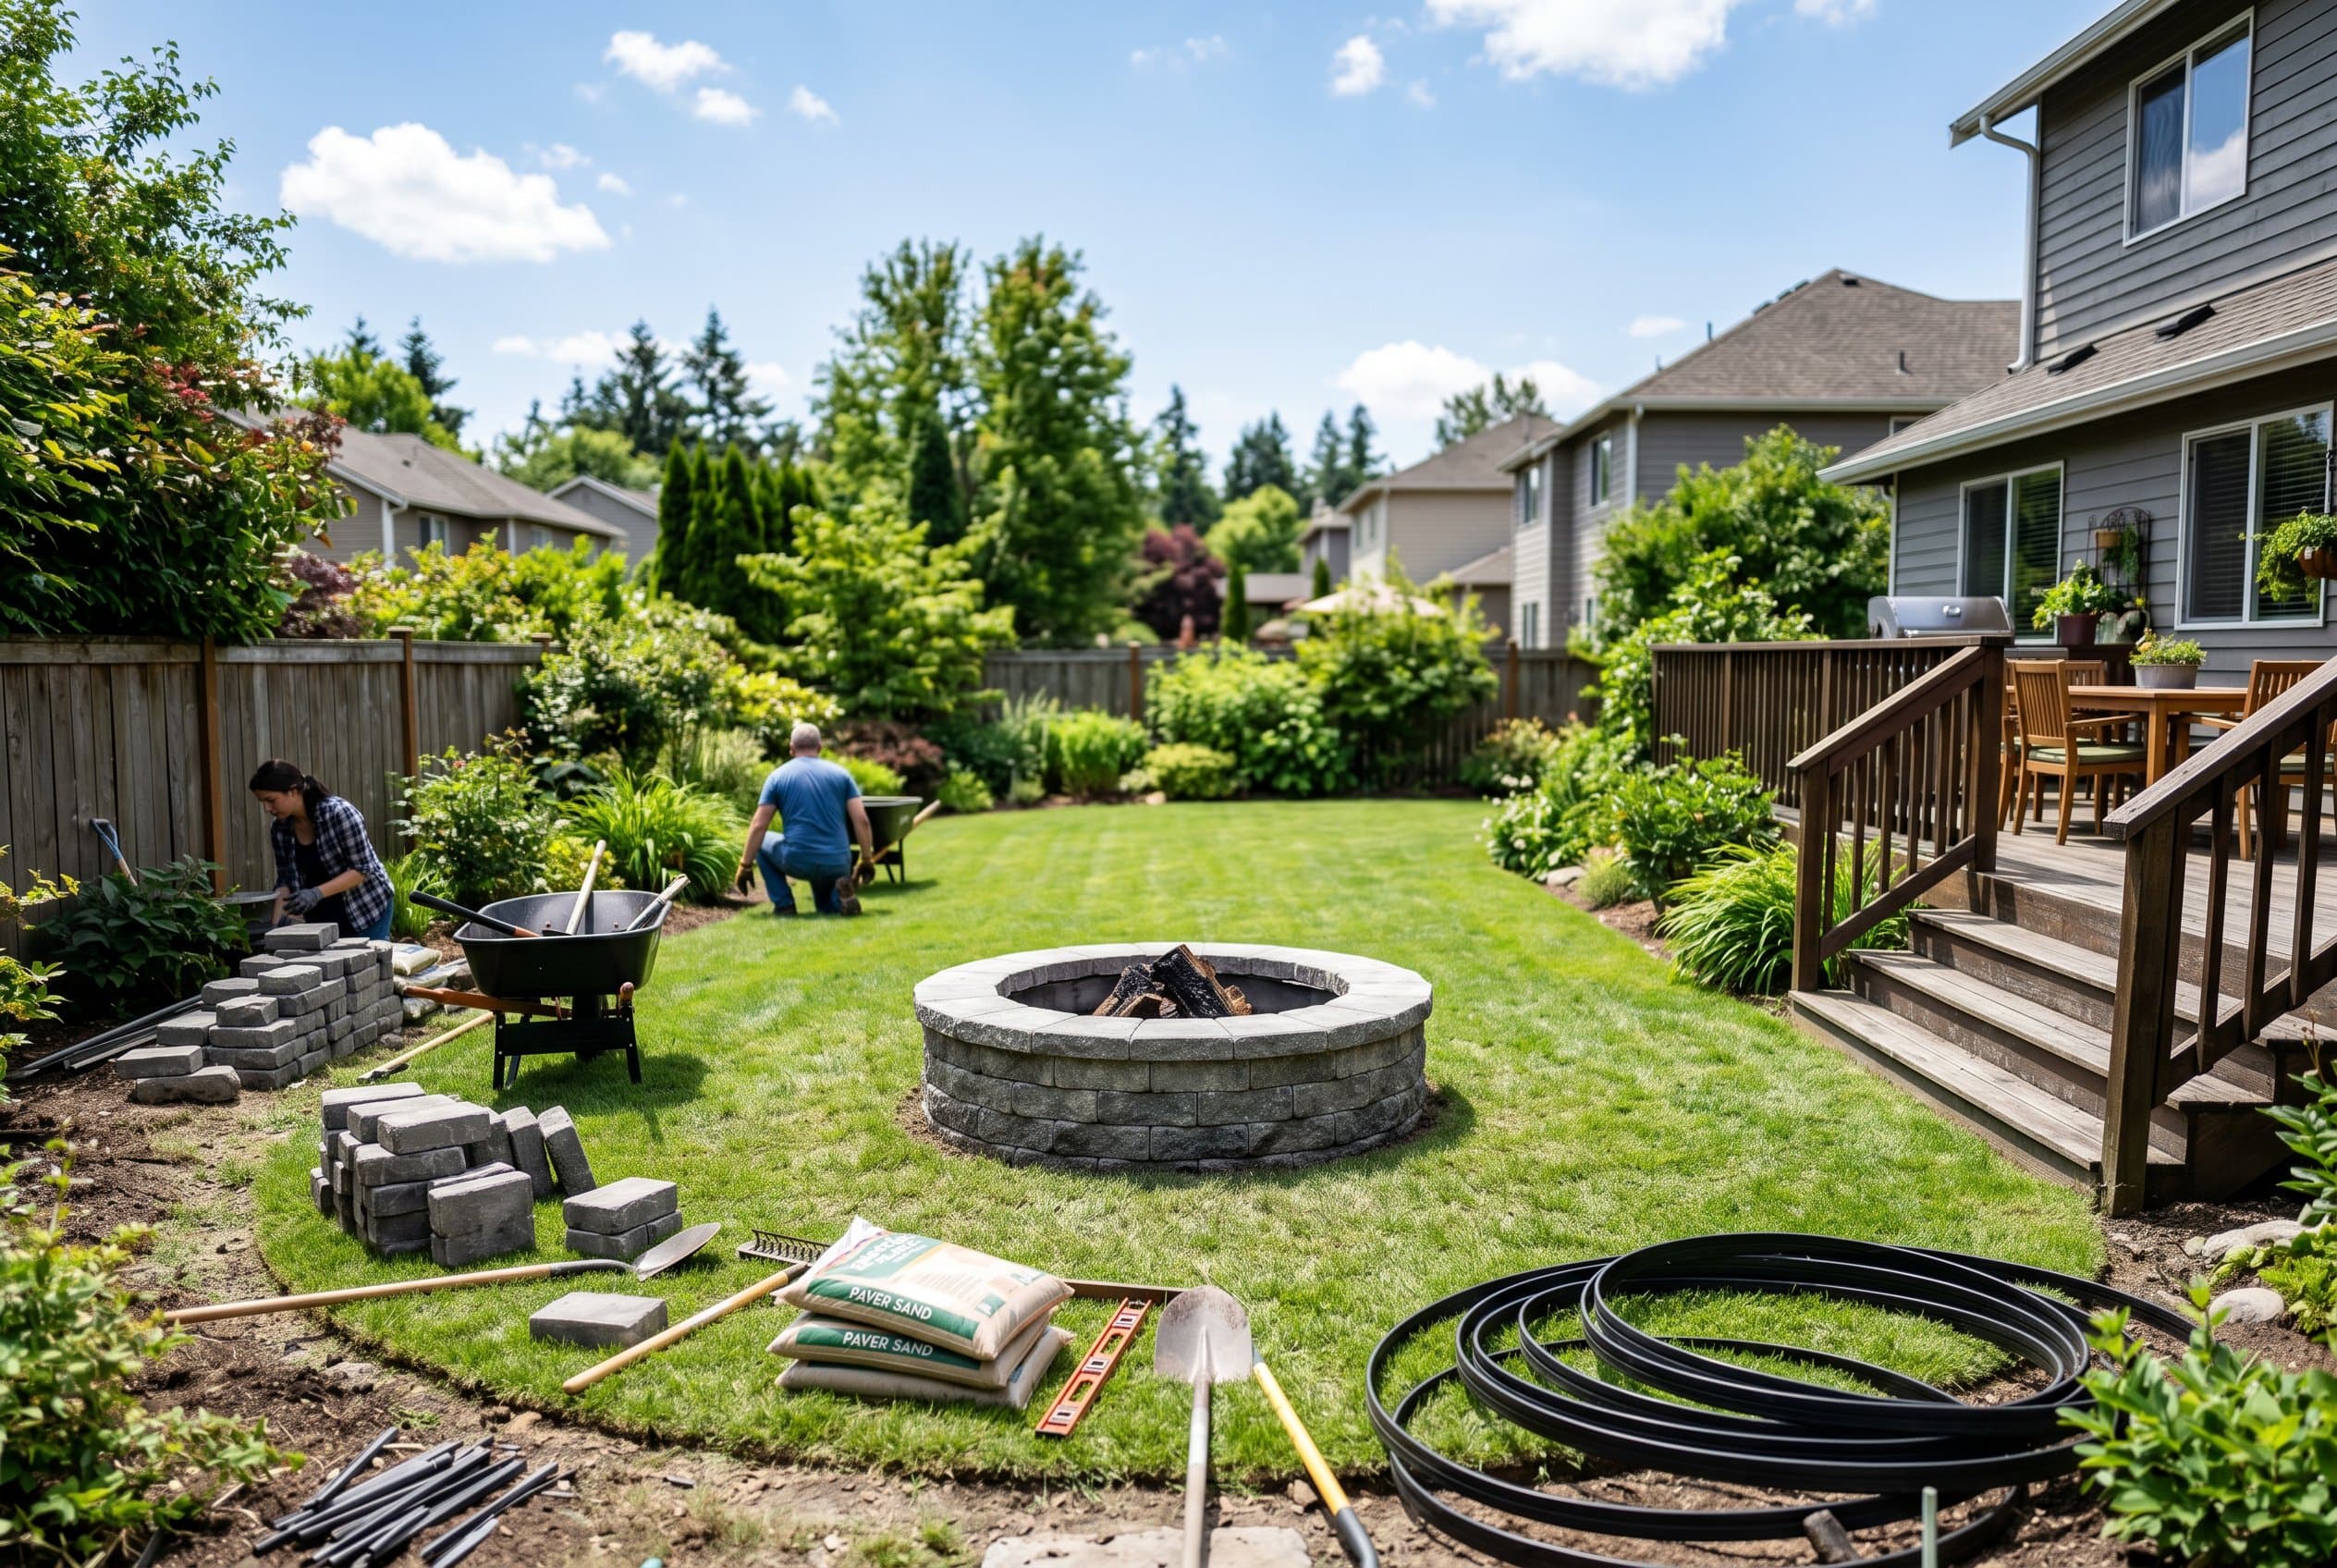
A backyard fire pit turns an ordinary yard into a gathering space for cool evenings, s'mores, and conversation. The good news: this is one of the most beginner-friendly DIY projects you can tackle. With basic tools, a free weekend, and the right materials, you can build a safe, attractive fire pit that lasts for years[1].
What Do You Need Before You Start?
Prep work matters as much as construction. Skipping the planning phase is the most common mistake homeowners make.
Check Local Codes First
Many municipalities have fire pit regulations — minimum setback distances, burn bans, or permit requirements. Contact your local fire department or city website before purchasing any materials[2]. HOA communities often have additional restrictions.
Choose Your Location Carefully
Select a flat, open area away from:
- Structures, fences, and sheds (minimum 10 feet)
- Overhanging tree branches or shrubs
- Dry grass or mulch beds
- Underground utility lines (call 811 before digging)
Gather Your Materials
For a standard 36-inch diameter pit you'll need:
- 35–40 fire-rated retaining wall blocks or natural stones
- Landscape adhesive or construction-grade adhesive
- Crushed gravel or pea gravel (1–2 bags)
- Coarse sand (optional, for base leveling)
- Shovel, rubber mallet, level, and tape measure
How Do You Build a Fire Pit Step by Step?
This is where the project comes together. Follow this sequence for a stable, safe result[3][4].
Step 1: Mark and Excavate
Use spray paint or a garden hose to mark a circle 36–44 inches in diameter. Dig down 6–12 inches within the circle. A deeper pit gives you a contained fire; shallower works if you prefer in-ground drainage naturally.
Step 2: Prepare the Base
Fill the bottom with 4–6 inches of crushed gravel and tamp it flat. Gravel promotes drainage and prevents water from pooling under your fire, which can crack stones over time[5].
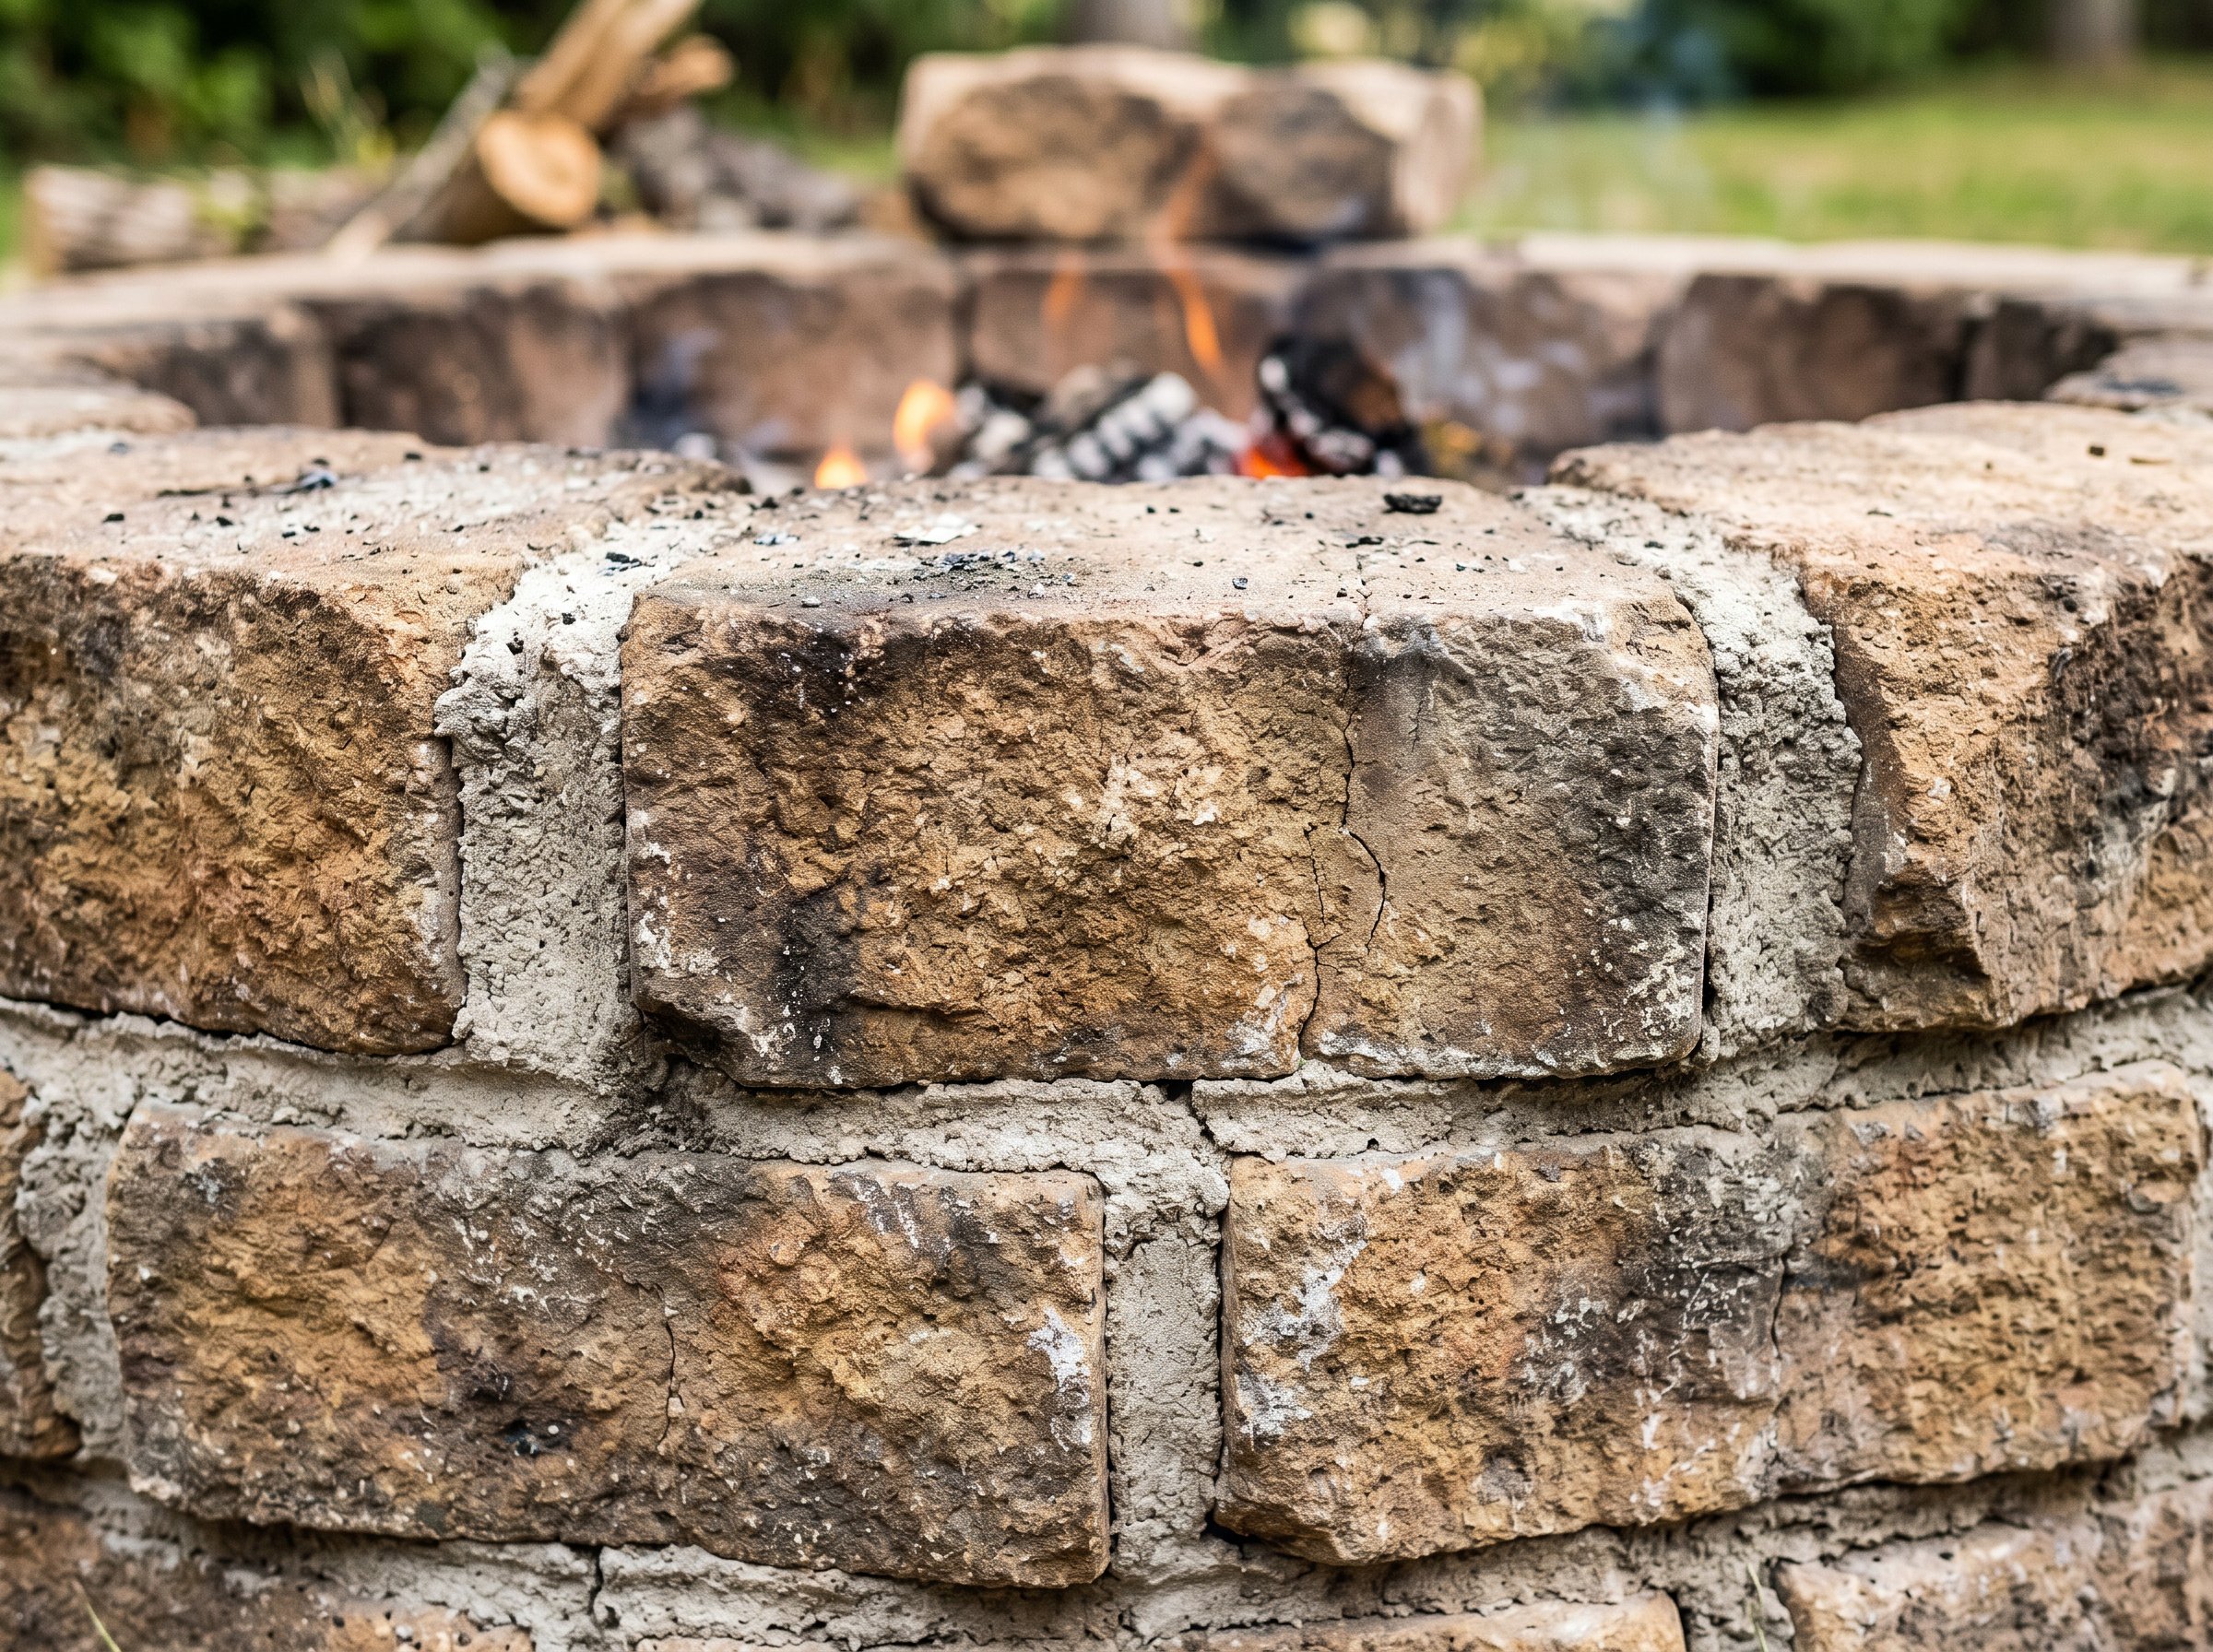
Step 3: Lay the First Ring
Arrange your first layer of blocks around the perimeter, checking with a level as you go. Leave small gaps between blocks — these act as air vents to feed the fire oxygen. Don't mortar the first course; it allows water to drain freely.
Step 4: Stack Additional Courses
Apply landscape adhesive between layers and stagger the block joints like a brick pattern. Two to three courses (12–18 inches tall) is the standard height for a functional fire pit. Use a rubber mallet to tap blocks level.
Step 5: Fill the Interior Base
Add a 2-inch layer of sand or gravel to the floor of the pit. This protects the ground, improves drainage, and makes cleanup easier[3].
What Are the Best Materials for a Fire Pit?
Material choice affects both safety and longevity[1][5].
| Material | Pros | Cons |
|---|---|---|
| Fire-rated retaining blocks | Affordable, uniform, easy to stack | Less natural look |
| Natural fieldstone or granite | Attractive, durable | Irregular sizing, harder to stack |
| Cast iron insert kit | Clean, portable | Higher cost |
Avoid: Regular concrete cinder blocks, river rocks, and porous stones. These can absorb moisture and crack — or worse, explode — when exposed to high heat[2].
How Do You Keep a Backyard Fire Pit Safe Year-Round?
Safety is ongoing, not a one-time checklist[2][4].
- Spring: Inspect blocks for winter frost damage; replace cracked stones before first use
- Summer: Observe local burn bans — drought conditions often trigger temporary restrictions
- Fall: Clear fallen leaves from the surrounding area before lighting fires
- Year-round: Keep a bucket of water or garden hose nearby every time you use the pit
Never burn treated wood, garbage, or cardboard — these release toxic fumes and create excessive sparks. Use seasoned hardwood for the cleanest, hottest fires[4].
Conclusion
Building a backyard fire pit is a satisfying weekend project that adds lasting value to your outdoor space. Start by checking local codes, pick a safe location 10+ feet from structures, use fire-rated materials, and follow the layered block method for stability. Once built, practice year-round safety habits and your fire pit will serve you through every season. Gather your materials this week, mark your spot, and get digging — your first fire could be just two days away.
Sources
- Family Handyman — DIY fire pit building guides and backyard project instructions
- Oklahoma State Extension — Outdoor burning regulations, fire safety, and yard fire guidelines
- USDA Natural Resources Conservation Service — Soil drainage, gravel base preparation, and land use considerations
- UC Agriculture & Natural Resources (UC ANR) — Backyard burning safety, fire-wise landscaping, and seasonal burn restrictions
- Kansas State Research & Extension — Outdoor structure materials, drainage best practices, and homeowner project guidance