Quick Answer
Testing your lawn soil involves checking three key factors: pH levels (6.0-7.0 is ideal for most grasses), nutrient content (nitrogen, phosphorus, potassium), and drainage quality. You can use DIY home test kits, digital meters, or send samples to your local extension office for comprehensive analysis.
Key Takeaways
- Test soil pH first - most lawn problems stem from improper pH levels
- Spring and fall are the best times to test soil for accurate results
- Professional lab tests provide the most comprehensive nutrient analysis
- Simple DIY tests can give you immediate pH and basic nutrient readings
- Retest soil every 2-3 years or when lawn problems persist
Introduction
Healthy grass starts with healthy soil, but many homeowners skip soil testing and wonder why their lawn struggles despite regular watering and fertilizing. Testing your lawn soil takes the guesswork out of lawn care and helps you make targeted improvements that actually work. Whether you're dealing with brown patches, thin grass, or poor growth, understanding your soil's condition is the first step toward a thriving lawn.
What Should You Test in Your Lawn Soil?
Your lawn soil has three critical components that determine grass health: pH levels, nutrient content, and physical structure. pH affects how well grass can absorb nutrients - most cool-season grasses thrive in slightly acidic to neutral soil (6.0-7.0 pH)[1]. Warm-season grasses prefer slightly more acidic conditions, around 5.8-6.5[2].
Nutrient testing focuses on the "big three": nitrogen (N), phosphorus (P), and potassium (K). Nitrogen promotes green growth and density, phosphorus supports root development, and potassium helps with disease resistance and stress tolerance[3]. Testing also reveals secondary nutrients like calcium and magnesium, plus micronutrients that grass needs in smaller amounts.
Drainage and soil compaction testing helps identify physical problems that prevent healthy root growth. Compacted soil restricts water infiltration and root expansion, leading to shallow root systems and stressed grass[4].
How Do You Test Your Soil Step-by-Step?
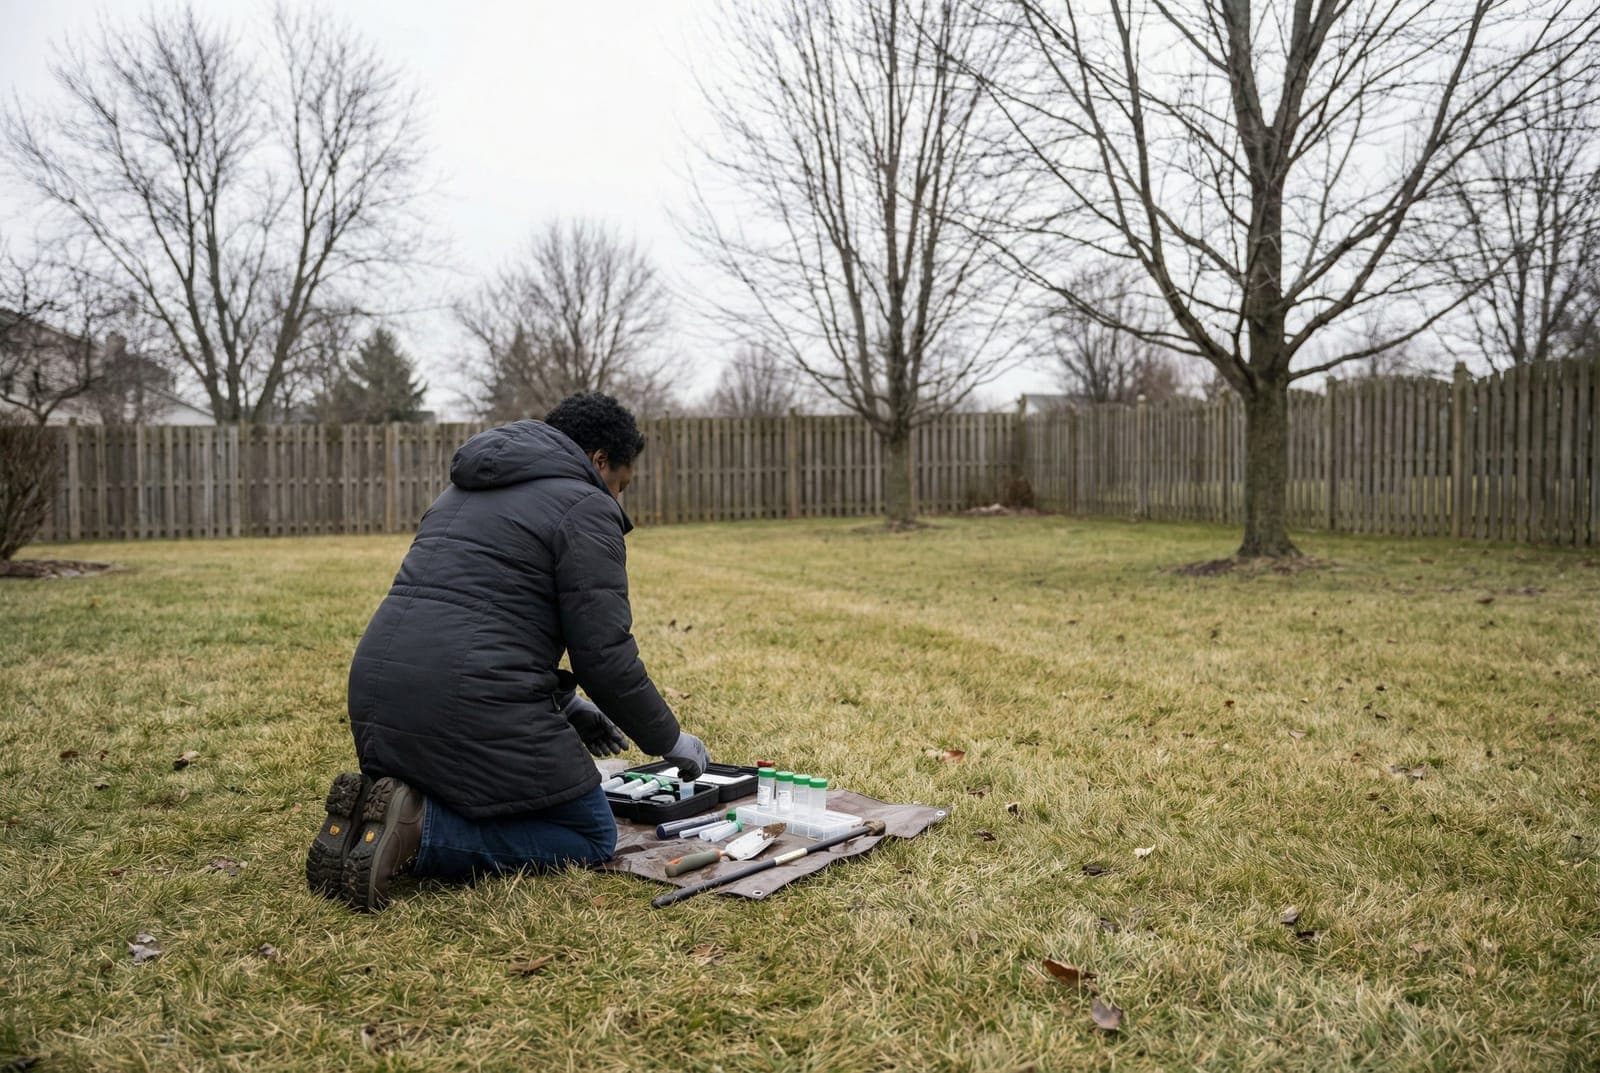
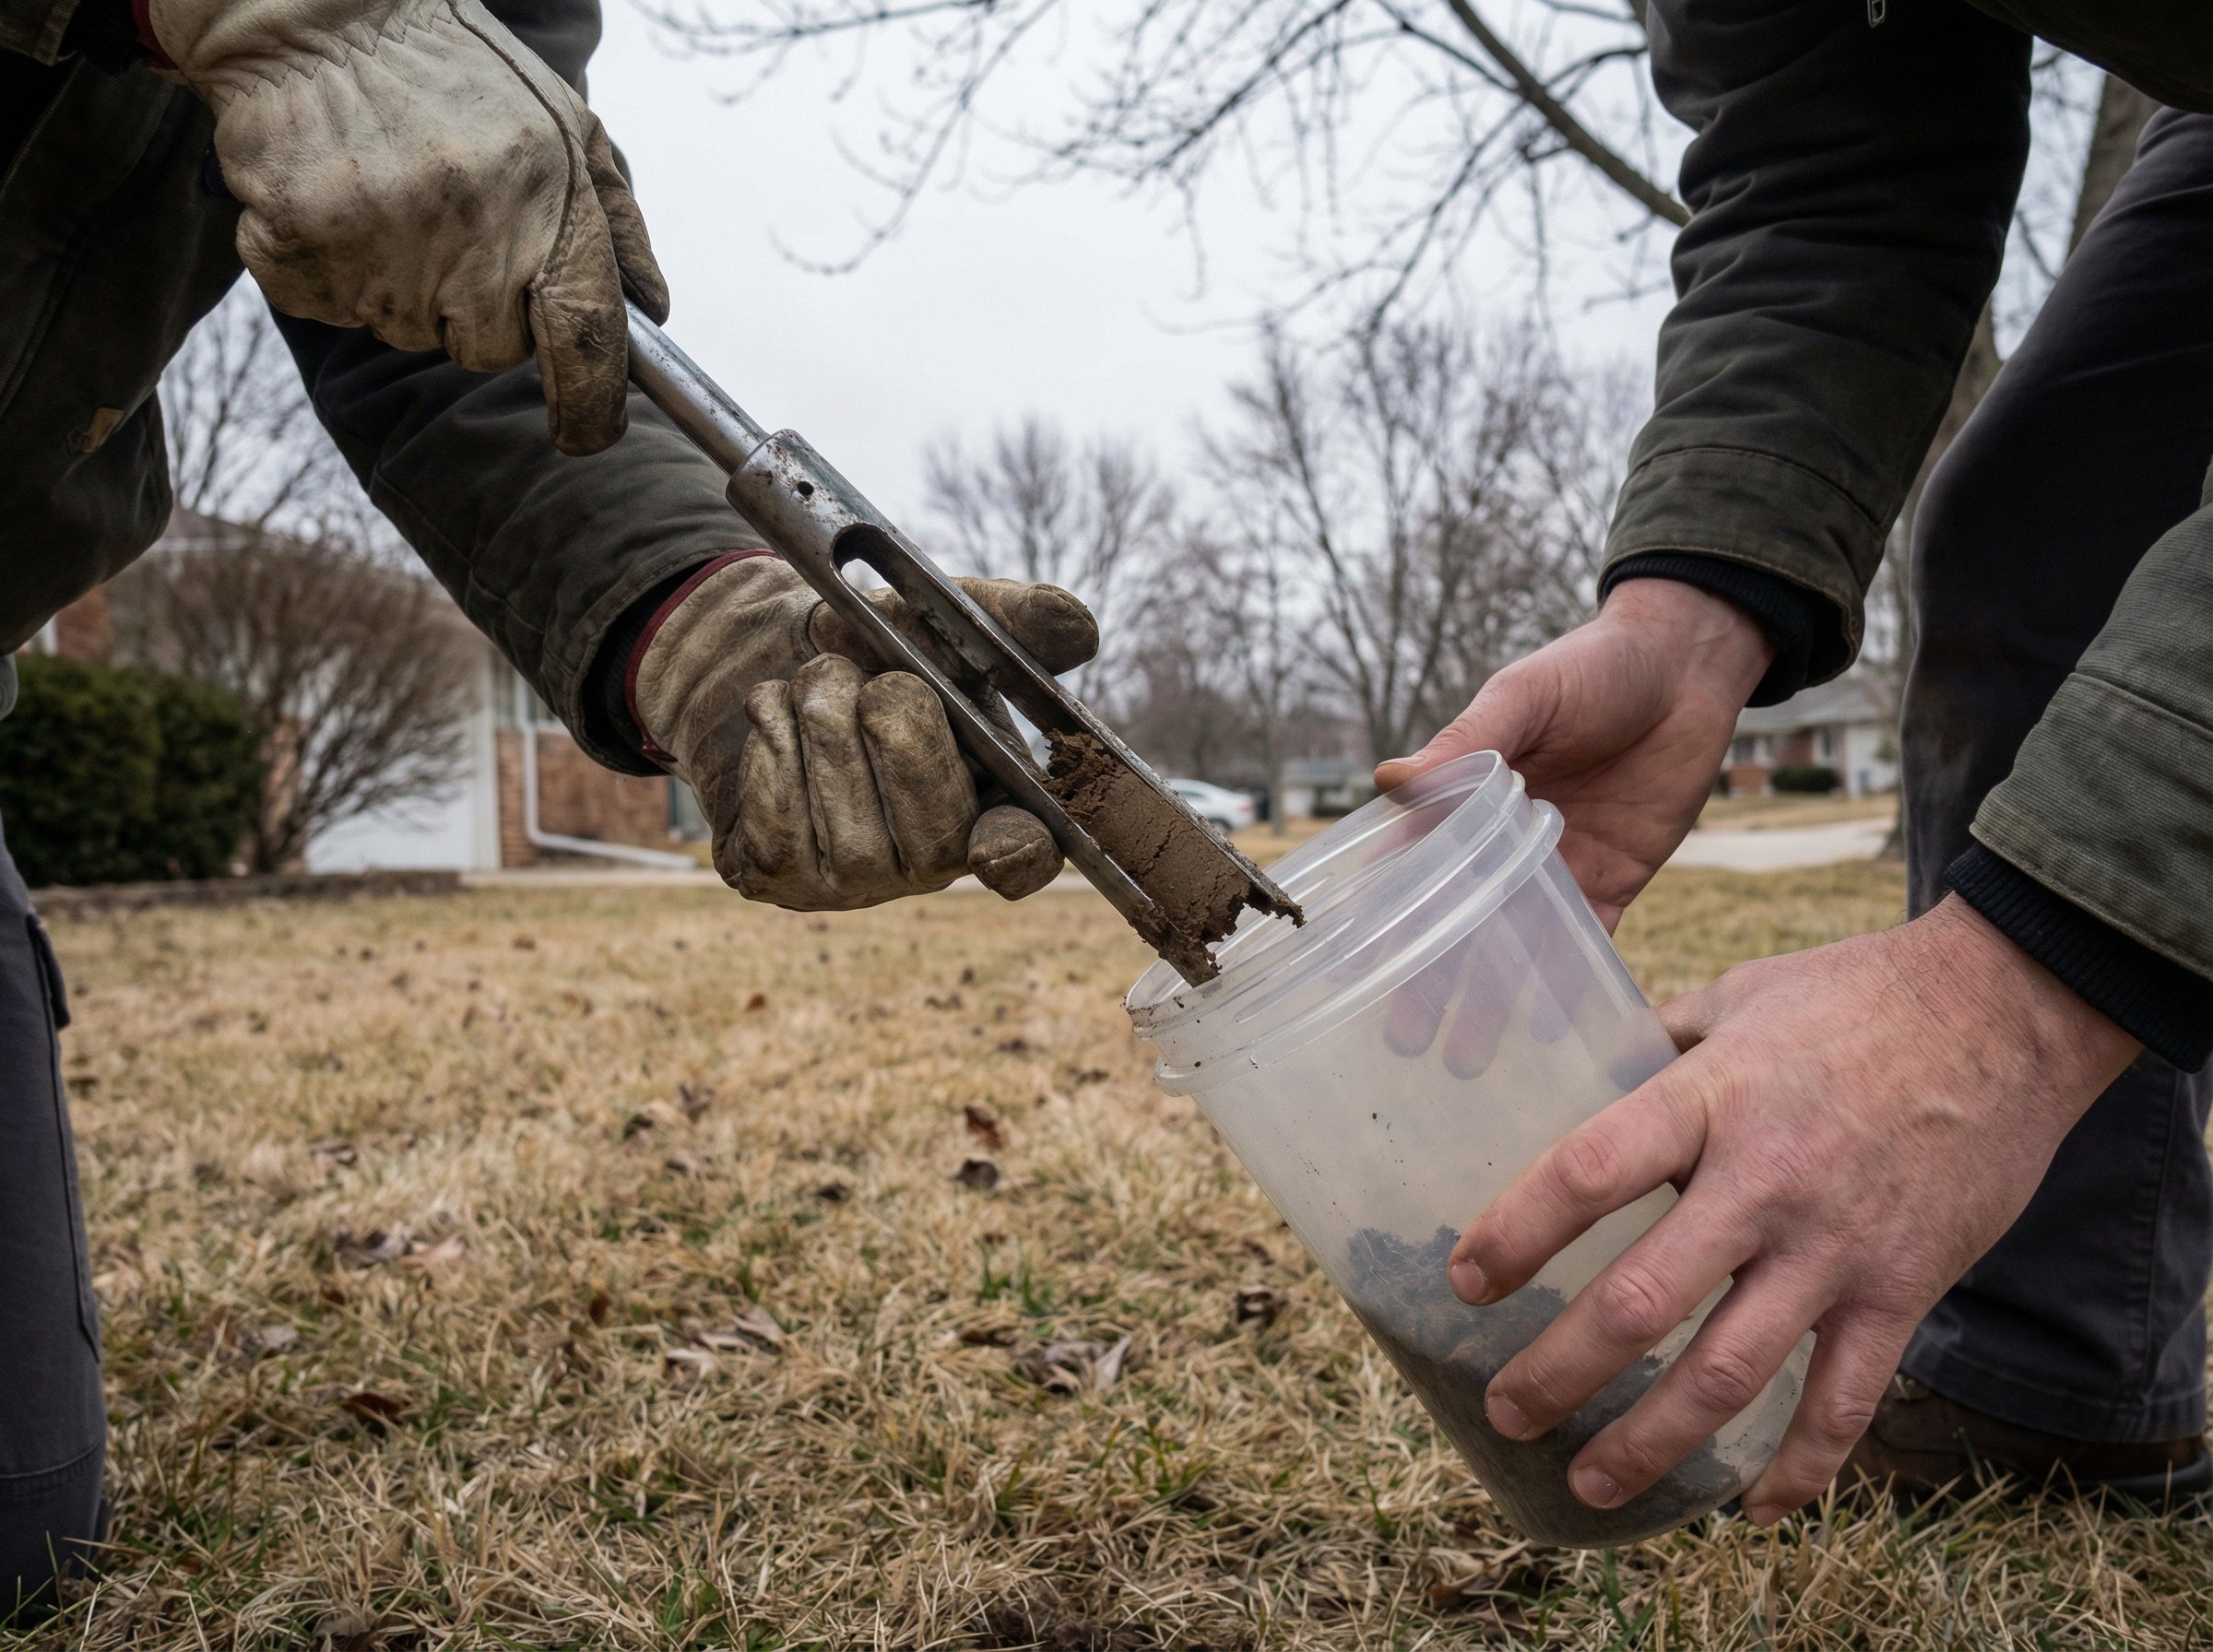
Start by collecting soil samples from multiple areas of your lawn using a clean spade or soil auger. Take samples 4-6 inches deep, avoiding areas near sidewalks, driveways, or recently fertilized spots[1]. Mix samples from 8-10 different locations in a clean bucket to get a representative sample of your entire lawn.
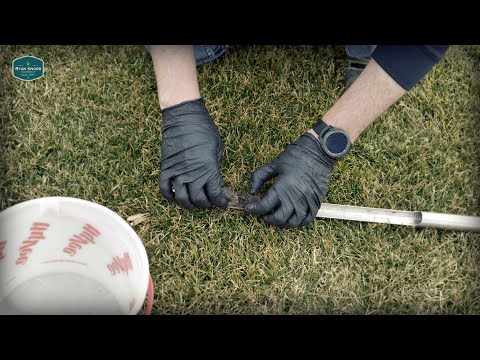
For DIY testing, use a digital pH meter or chemical test strips for immediate pH readings. Insert the probe into moist (not muddy) soil and wait for the reading to stabilize. Home test kits with color-changing solutions can test basic nutrients, though results are less precise than laboratory analysis[5].
For comprehensive testing, send your mixed soil sample to your local cooperative extension office or private soil lab. Remove debris, let the sample air dry, and follow the lab's specific packaging instructions. Most extension offices charge $10-25 for basic testing and provide detailed recommendations for your specific grass type and local conditions[6].
Test drainage by digging a hole 12 inches deep and 6 inches wide, then filling it with water. If water remains after 24 hours, you have drainage issues that may require aeration, organic matter addition, or drainage improvements[4].
When Is the Best Time to Test Lawn Soil?
Spring and fall offer the most accurate soil testing conditions because soil moisture and temperature are stable. Test in early spring (6-8 weeks before your growing season begins) to plan your fertilization strategy, or in fall to prepare for next year's lawn care program[2].
Avoid testing immediately after heavy rain, during drought conditions, or within 6 weeks of applying fertilizer or lime, as these factors can skew results[1]. If you're dealing with specific lawn problems like brown spots or poor growth, test immediately regardless of season to identify the underlying cause.
Retest your soil every 2-3 years for maintenance, or annually if you're actively working to correct pH or nutrient problems. Keep records of your test results and treatments to track improvements over time[3].
What Do You Do After Testing Your Soil?
Use your test results to create a targeted soil improvement plan. If pH is too high (alkaline), apply sulfur or organic matter to lower it gradually. For acidic soil, add lime 2-3 months before planting or overseeding to allow time for pH adjustment[6].
Address nutrient deficiencies with specific fertilizers rather than generic "lawn food." Understanding how often to fertilize your lawn helps you build a targeted feeding program based on your results. High phosphorus readings might mean you need nitrogen and potassium only, saving money and preventing nutrient runoff[5]. For compacted soil, schedule core aeration and topdress with compost to improve structure and drainage.
Track your progress with follow-up testing and visual lawn assessment. Proper soil management takes time - expect to see gradual improvements over 1-2 growing seasons rather than immediate dramatic changes[4].
Conclusion
Testing your lawn soil removes the guesswork from lawn care and helps you make informed decisions about fertilization, pH adjustment, and soil improvements. Start with a basic pH test this spring, then consider comprehensive lab testing for persistent lawn problems. Remember that healthy soil creates healthy grass - invest in understanding your soil, and your lawn will reward you with better color, density, and resilience.
Sources
- Penn State Extension — Soil testing and pH management for home lawns
- University of Georgia Extension — Turfgrass soil testing guidelines and timing
- Scotts Miracle-Gro — Lawn soil nutrition and testing research
- Michigan State University Extension — Soil compaction and drainage assessment methods
- Consumer Reports — Home soil testing kit accuracy and effectiveness
- USDA Natural Resources Conservation Service — Soil testing and amendment guidelines